
Clay
Every mask starts here — a humble lump of earth, worked by hand until something in it becomes a face.
| Material | Quantity | Notes |
|---|---|---|
| Wet clay | 8-10 lbs | Enough for most masks |
| Work board | About 9" x 13" | Lets you turn or prop up the sculpture |
| Spray bottle | 1, with water | For dampening the clay |
| Rags | A few | Damp, laid over the sculpture between sessions |
| Clear plastic garbage bags | 2 | Cover the damp rags — clear, to prevent mold |
| Rubber mallet | 1 | For pounding clay into a head-shaped mound |
| Old credit card (or similar) | 1 | For cleaning up edges before molding |
Working in Clay
Some Guidelines
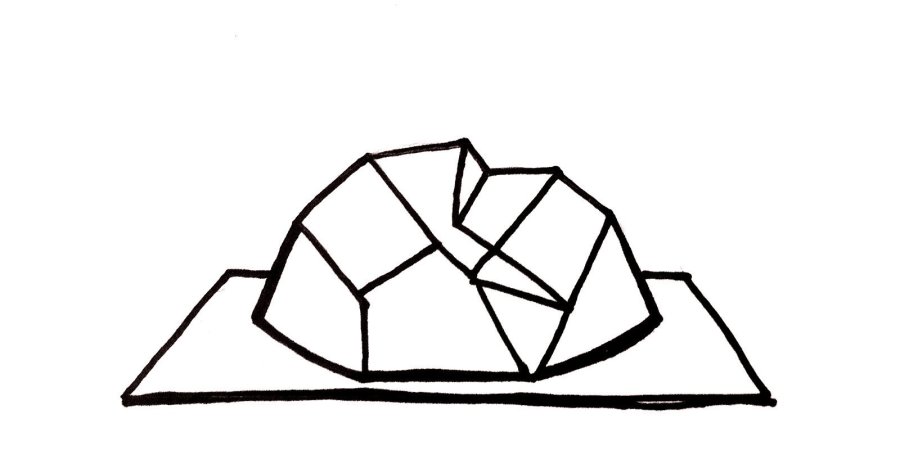
Break Eggs
If you're starting to form a well rounded egg, give the sides a few whacks with the hammer to break it up into planes.
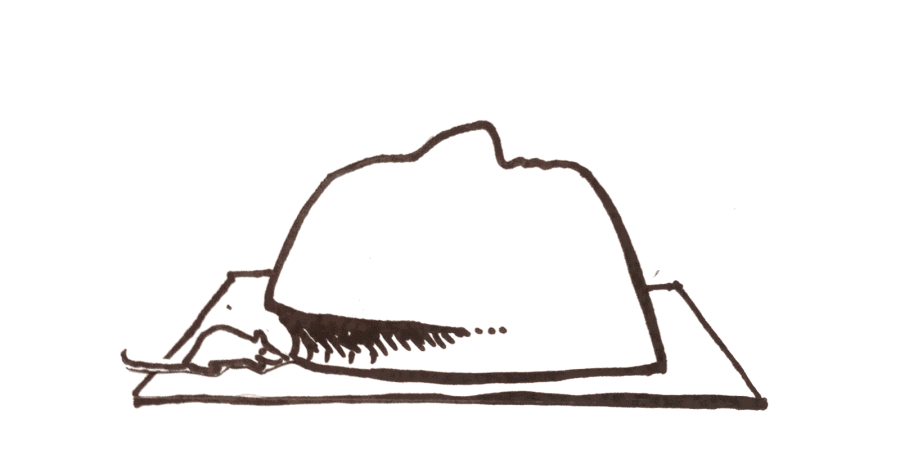
Beware the Mice
Don't rob clay from around the edge of your form. Avoid mice bites and build from the board.
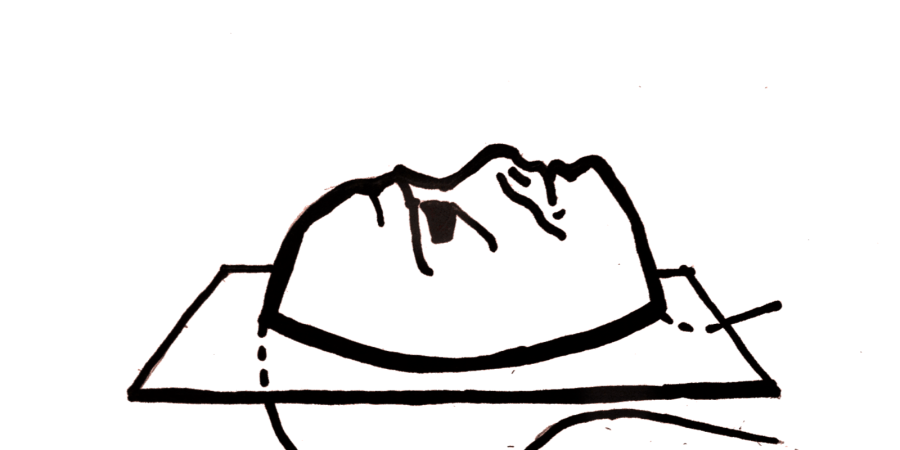
Stay Simple
Your mask doesn't need to say everything. It can be simple, it will be held by a body, a form, a feeling, a story.
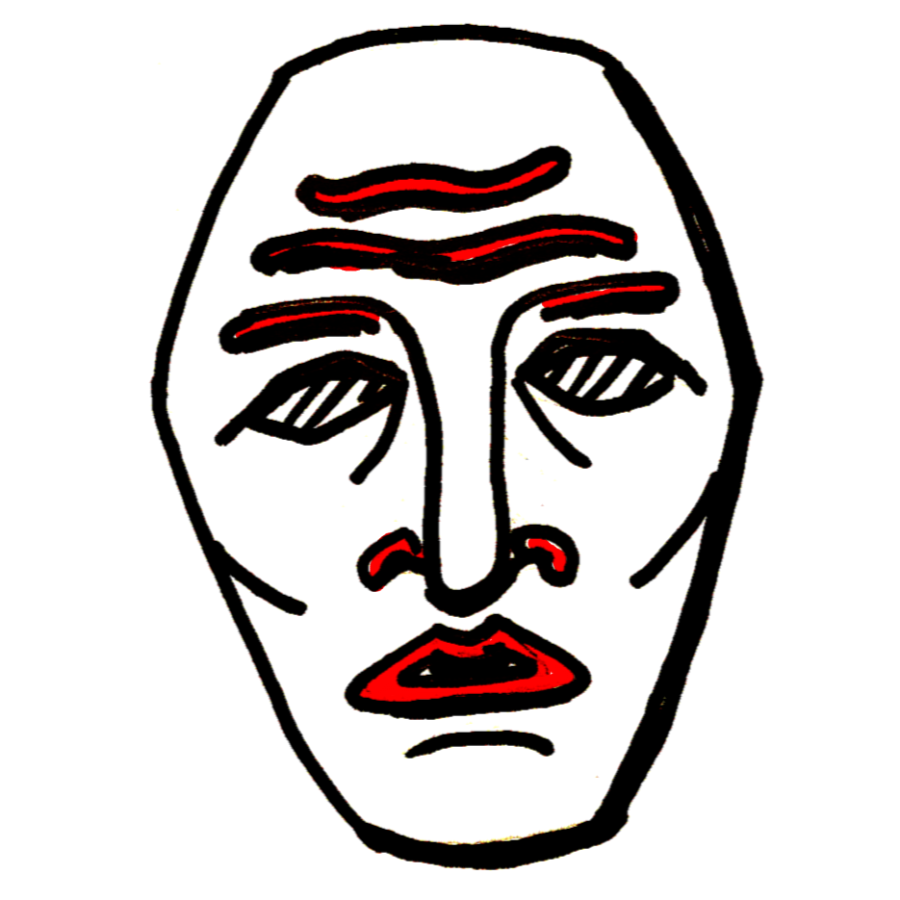
Snakes on a Plane
Build facial features with intersecting planes and full volumes of clay, not coils or by pinching in details.
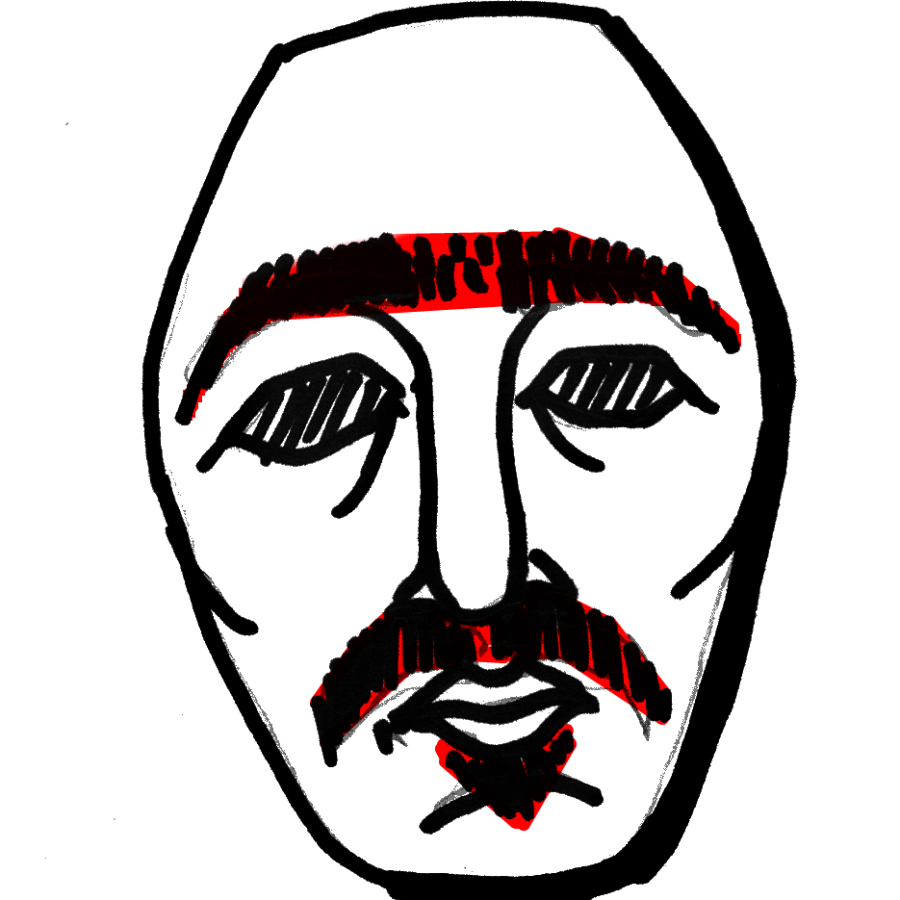
No Hair
In general, masks don't need eyebrows, mustaches or beards. Not in the sculpted form at least.
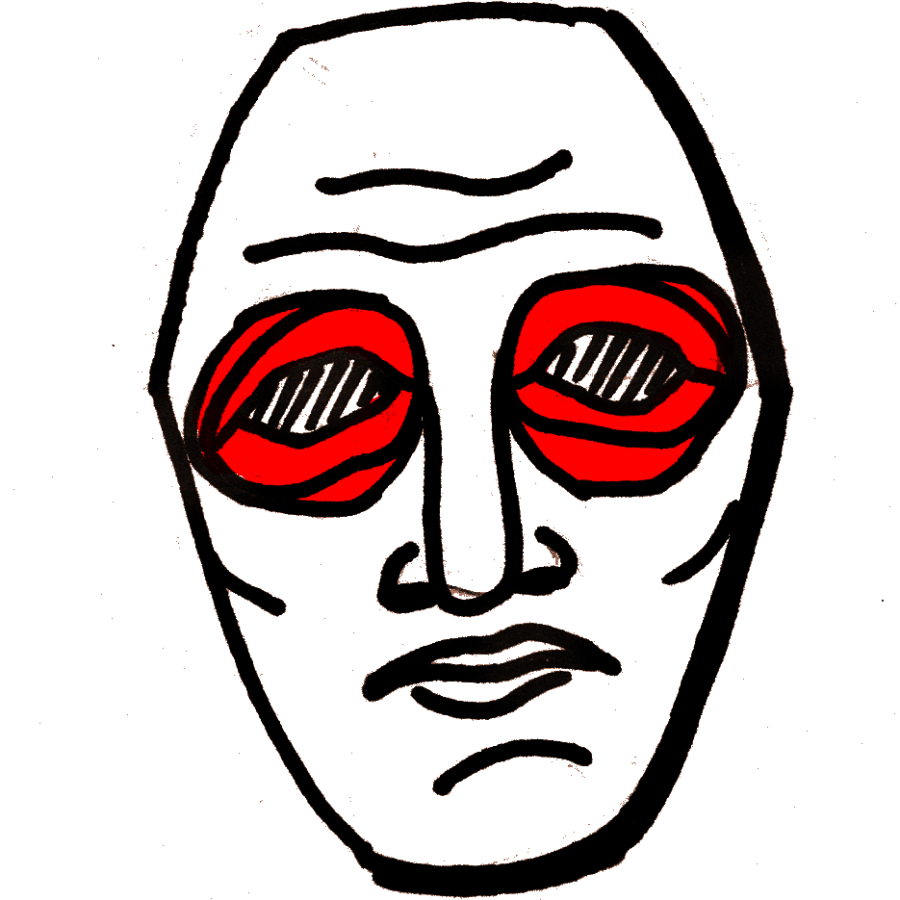
Circles
It's common to close the eyes off into a circle. Break the circle and connect the eye to the rest of the face.
Undercuts

Working in the clay is exciting — when you're satisfied, it's time to move on to paper mache.